Product Photography Tips for Better AI Video Ads
Your product photos are the raw material for AI video ads. Here's how to shoot them for the best results.
AI video generators are only as good as the images you feed them. A well-lit product photo on a clean background produces video that looks professionally shot. A dark, cluttered phone snapshot produces something you'd never run as an ad. (AI video generation explained covers what the model is actually doing with your images.)
You don't need a studio. A window, a sheet of white paper, and 15 minutes will get you there.
Shoot Three Angles, Not One
AI video models build a 3D understanding of your product from the images you provide. One front-facing shot gives the model a cardboard cutout. Three angles give it an object it can rotate, light, and place in a scene convincingly.
The three shots that matter:
-
Front (hero shot): Straight on, centered, product filling roughly 60-70% of the frame. This is the angle your customers already recognize from your website or packaging.
-
Three-quarter (depth shot): Rotate the product 30-45 degrees from front. This reveals depth and form — the AI needs this to understand that your product has volume, not just a face.
-
Back or opposite three-quarter: For products with distinctive backs (phones, packaging, electronics), shoot the back. For simpler products, rotate to the opposite three-quarter angle. This fills in the remaining blind spot.
Upload all three. The difference between one-angle and three-angle input is dramatic — more natural camera movement, more accurate product rendering. (From brief to video — Dobidy's AI workflow explains how the angles feed into rendering.)
Lighting: The Single Biggest Quality Factor
Bad lighting ruins AI video output more than anything else. Harsh shadows create artifacts. Uneven lighting makes textures look wrong. Colored light tints your product, and the model reproduces that tint in every frame.
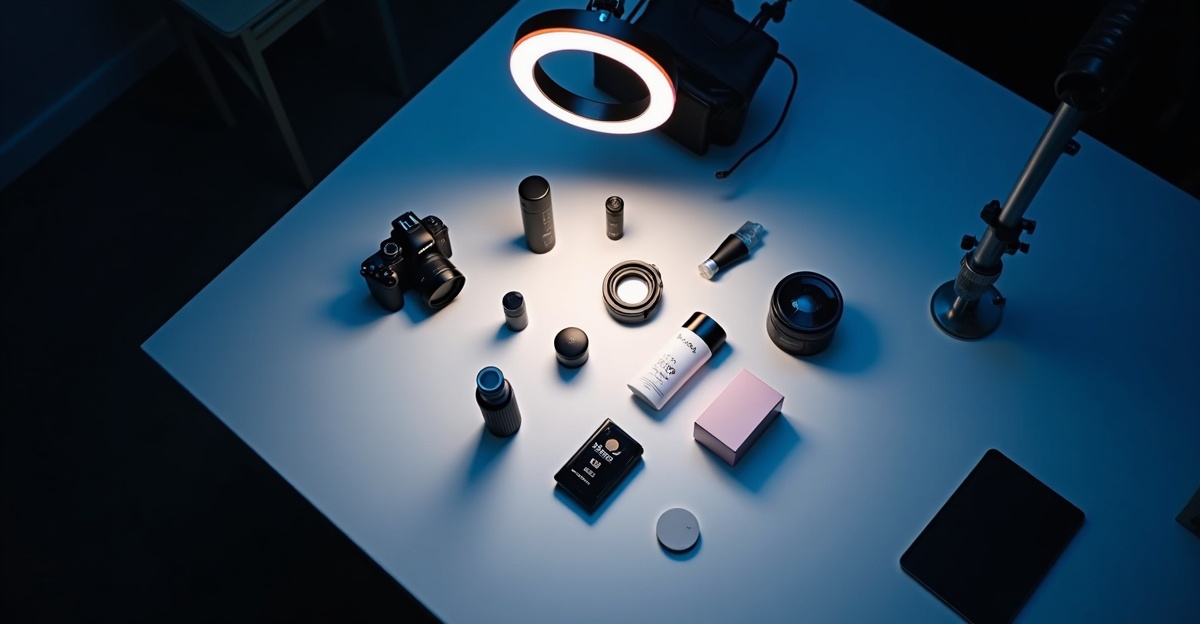
The setup that works every time: Place your product near a large window with indirect light. Not direct sun — that throws hard shadows. Overcast days are ideal. You want soft, even illumination across the entire surface.
If one side is too dark, prop white paper or cardboard opposite the window to bounce light back and fill the shadows. Oldest trick in product photography — works every time.
What to avoid:
- Overhead fluorescents (they add a green cast)
- Direct camera flash (blown highlights, hard shadows behind the product)
- Colored ambient light — LED strips, warm-toned desk lamps, anything that shifts the color temperature away from neutral white
Background: White Paper Beats Everything
A plain white or light gray background gives the AI model maximum flexibility to separate your product and place it into any generated scene.
How to set it up: Tape a large sheet of white paper or poster board to a wall and curve it down onto a flat surface. This creates a seamless "infinity" sweep — no horizon line, no edges. Takes two minutes.
A note on lifestyle shots: Product-in-context photos (on a counter, in someone's hand) constrain the model. It may try to incorporate background elements into the video — a shelf might morph, a hand might distort. Give the AI clean, isolated images.
Resolution and Format
Most AI video models process images internally at 1024-2048px. Anything above 2000px on the longest side won't help.
- Minimum: 300x300px. Below this, the generated video looks noticeably soft.
- Sweet spot: 1200-2000px on the longest side. Any modern phone camera exceeds this — just avoid aggressive cropping.
- Format: JPEG or PNG. The difference is negligible for most products.
Common mistake: pulling compressed thumbnails from your website (often 400px). Always use original high-resolution files. (For an ecommerce-specific workflow, see shopify store video ads.)
Preparing Your Logo
Provide your logo as a separate file, not embedded in a product photo.
- Best format: PNG with a transparent background.
- Fallback: Logo on a solid white background. Avoid logos on colored or textured backgrounds — the AI may bleed the background color into the video.
- Layout: Horizontal lockups render more cleanly than complex stacked arrangements. If your logo has both an icon and wordmark, go with the horizontal version.
Five Mistakes That Wreck Your Output
Cluttered backgrounds. Multiple objects force the AI to guess which one is your product. It sometimes guesses wrong.
Watermarks or text overlays. The model treats watermarks as part of the image. They'll appear in every frame of the generated video. Use clean, unwatermarked source files.
Extreme close-ups. A tight crop of a product corner doesn't give the model enough context to reconstruct the full object. Show the whole product with breathing room around the edges.
Inconsistent lighting across angles. Front shot in morning window light, side shot under a desk lamp at night — the AI sees two different products. Shoot all angles in one session with one lighting setup.
Skipping the back angle. When the AI generates a camera orbit with no data about the back of your product, it improvises. The result is usually wrong. Three angles take five extra minutes and prevent this.
The 15 minutes you spend getting product photos right is the highest-leverage investment in your entire video ad workflow. Do it once, use those images for every video you generate. When your photos are ready, an AI product video creator can turn them into finished ads in minutes. (Turn product photos into video ads — free walks through the free path.)
Dobidy Team
AI-powered video advertising platform
Ready to create your first video ad?
Upload your product photos and get a polished 10-second video ad. Plans from $39/mo.
Get Started